


Under Seat Storage Tray DIY - Lot's of Pics
Installed on 2011 GTI 4 Door Autobahn.
Leather power recline seats with Dynaudio amp and Bluetooth module underneath the seats. So it should fit on any GTI.
Tools Needed:
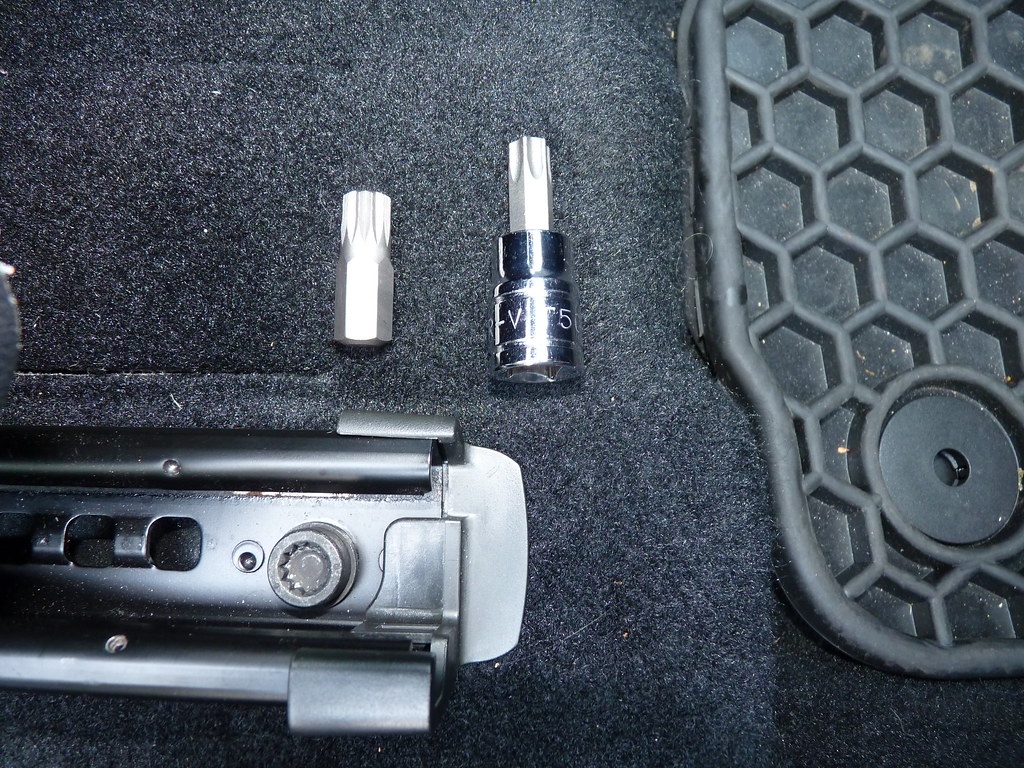
T-20 Torx Bit
M-10 Triple Square Bit
Ratchet Wrench
Ratchet Extension Bar (~ 5-8 inches)
4mm Rivet Gun
Parts:
ECS Tuning includes all the hardware needed for install.
Sólo usuarios registrados pueden ver links. Por favor, regístrate en el foro haciendo click AQUI.
Sólo usuarios registrados pueden ver links. Por favor, regístrate en el foro haciendo click AQUI.
Parts by VW Number:
1x 1K0 882 601J 82V - Driver's Side Drawer
1x 1K0 882 602J 82V - Passenger's Side Drawer
1x 1K0 882 599B 9B9 - Driver's Side Guidance Frame
1x 1K0 882 600B 9B9 - Passenger's Side Guidance Frame
1x 1K0 881 547A - Driver's Side Retainer (Metal Piece)
1x 1K0 881 548A - Passenger's Side Retainer (Metal Piece)
4x N 900 978 02 - Pop Rivet 4x8x12.3
8x N909 998 01 - Oval Hexagon Socket Head Bolt M4x8.5 (T20 Torx)
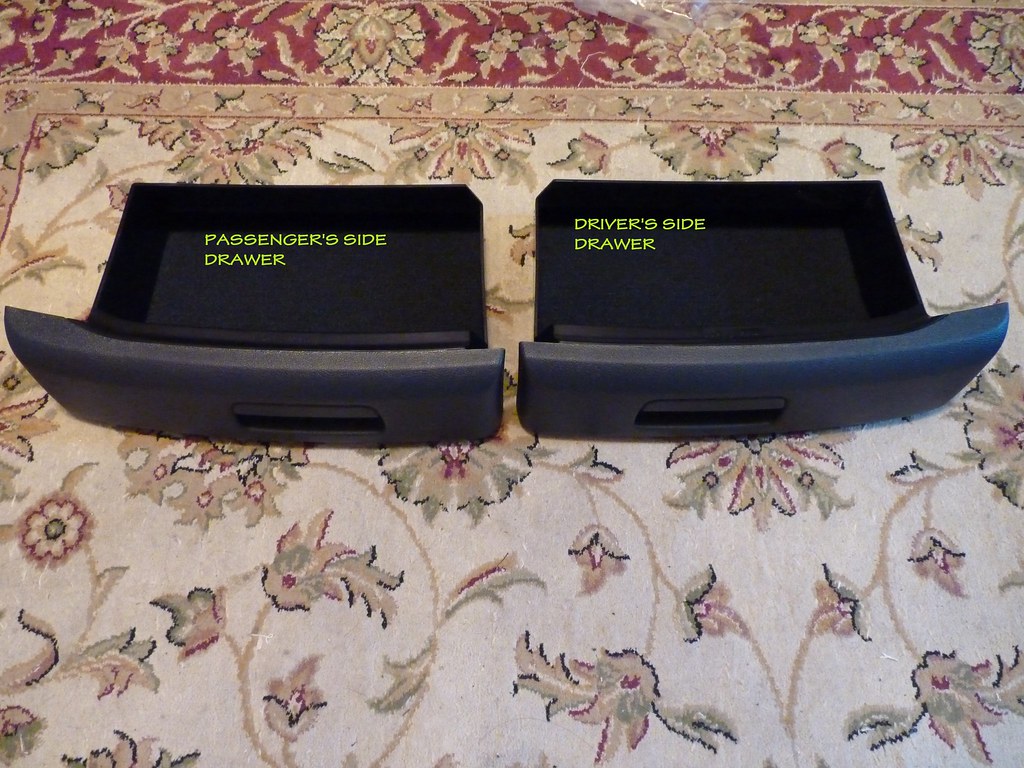
Guidance Frames
Drawers
Step One:
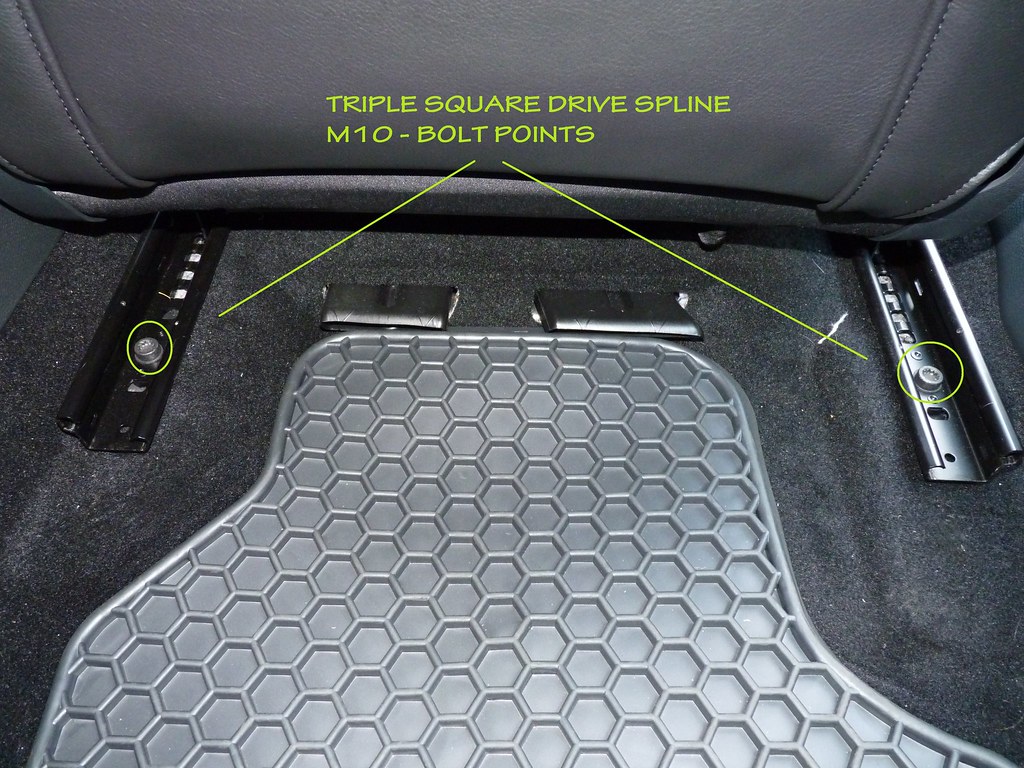
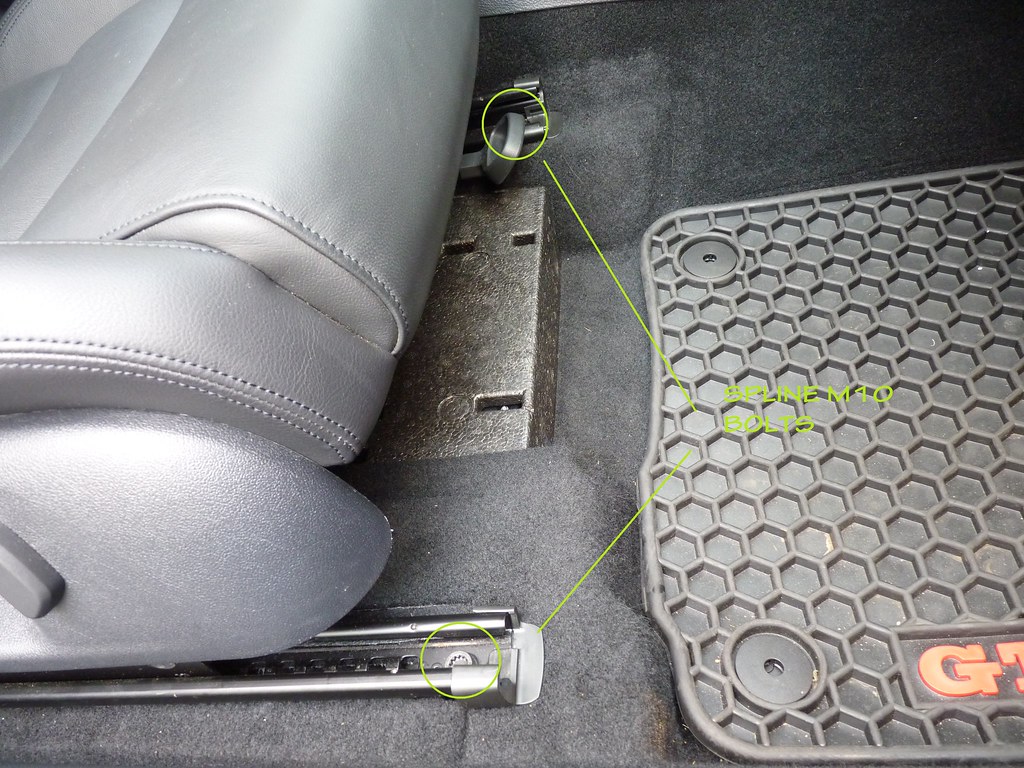
Seats are held by 4 (2 Front 2 Back) Triple Square M10 bolts on the rails.
In a pinch, a T50 Torx bit will also work for these bolts.
Slide seat forward as far as it will go.
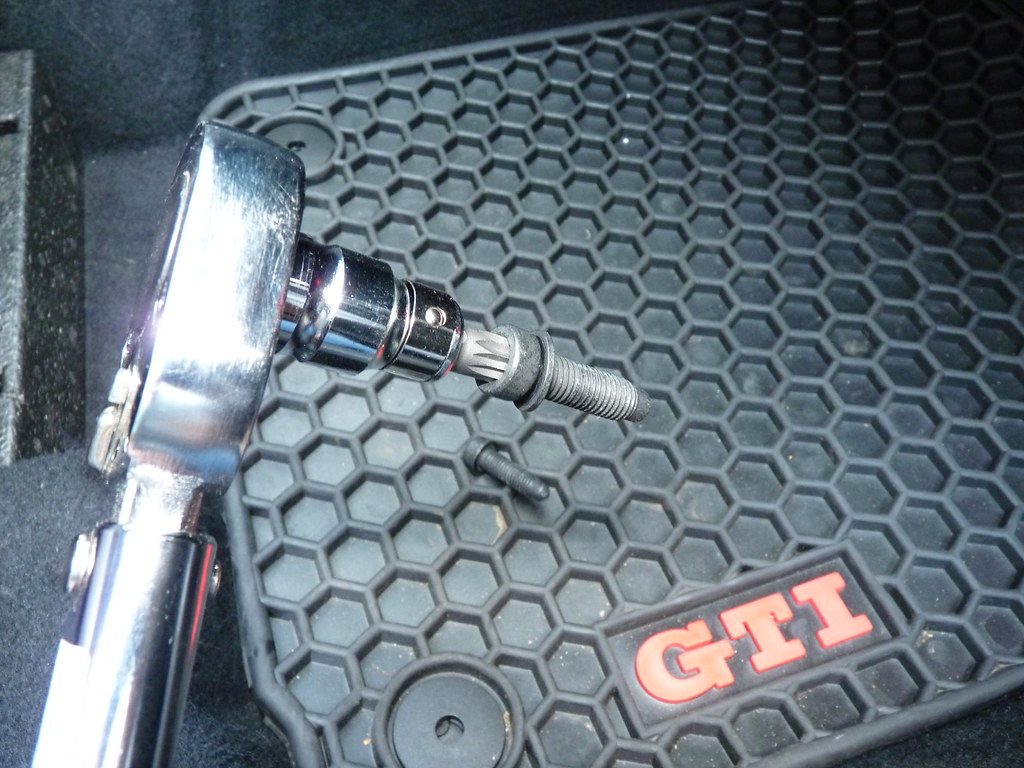
Remove the 2 bolts on the rear of the seats.
Step Two:
Slide the seat back as far as possible.
Remove the bolts in the front.
You can now gently tilt back the entire seat assembly.
You might want to move your seat back forward before doing this.
Also you will not need to disconnect any wires. Just be careful.
You remove the rear bolts first, because if you go front to back then the rails will shift when you slide the seat back with no bolts later.
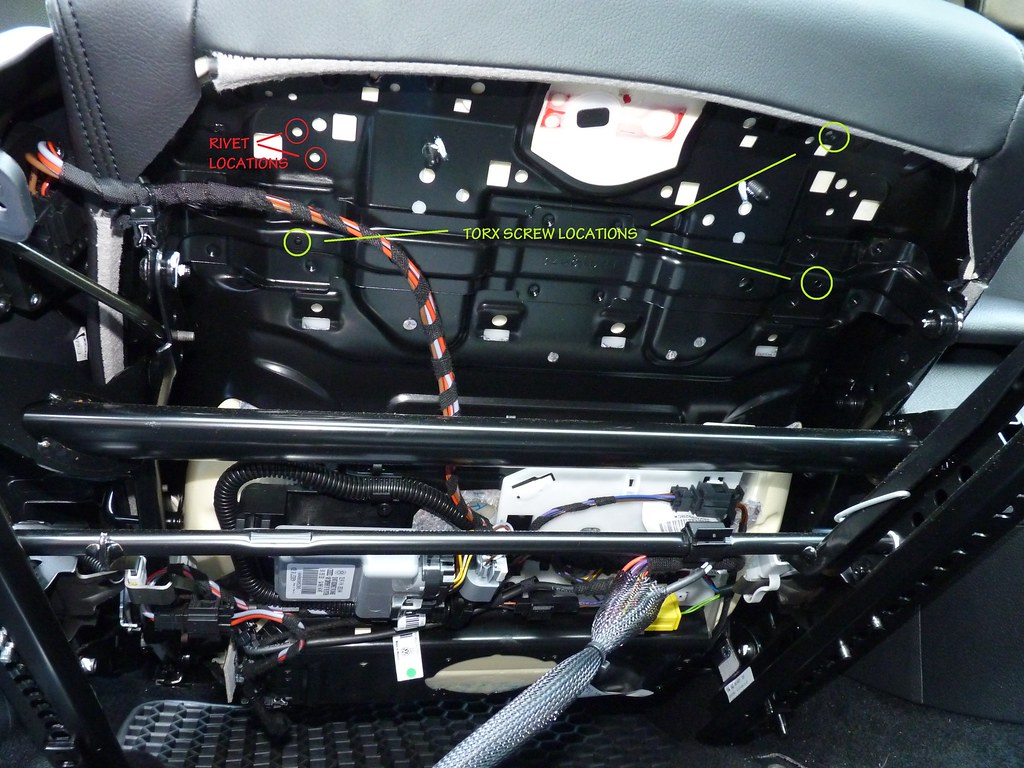
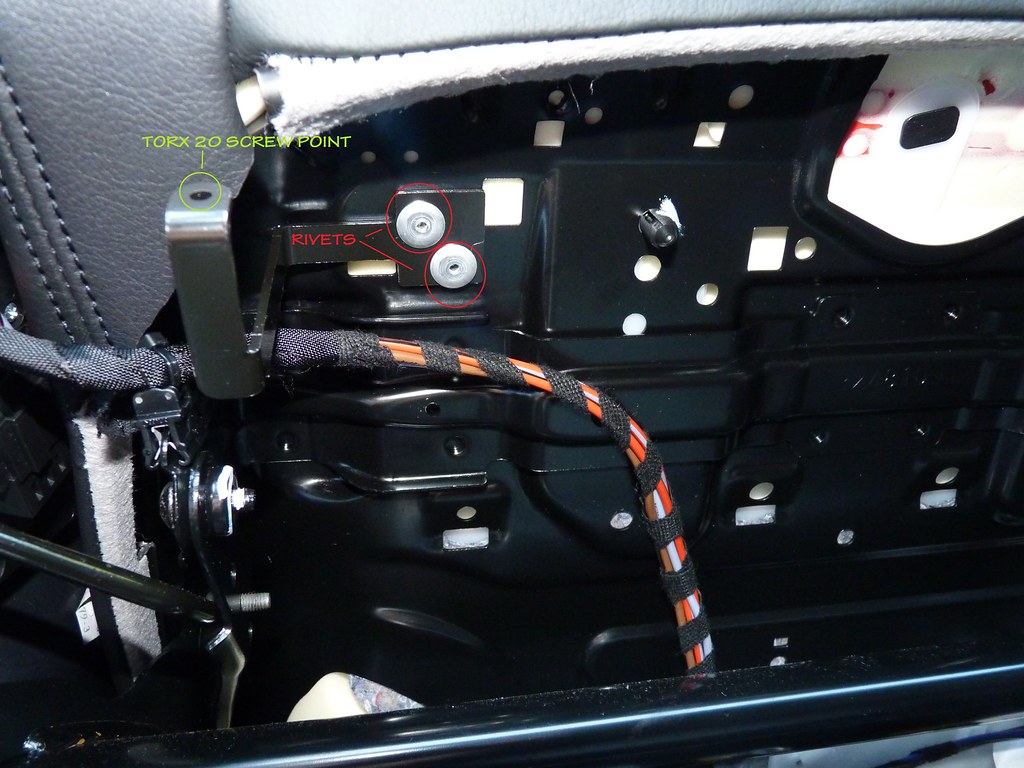
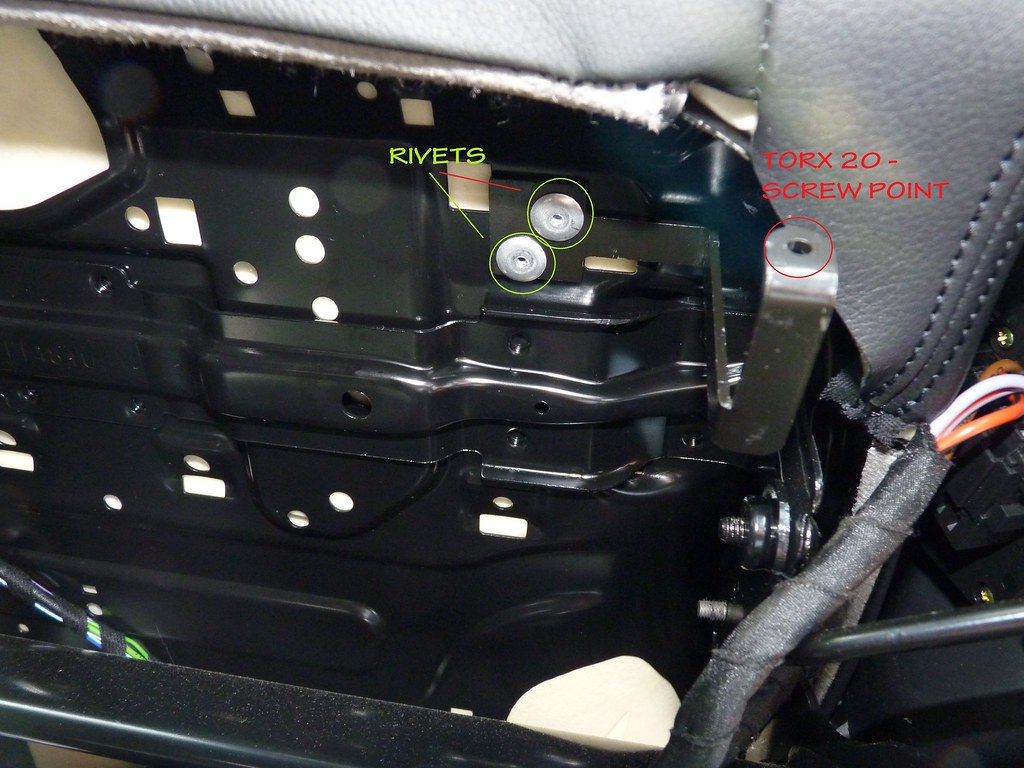
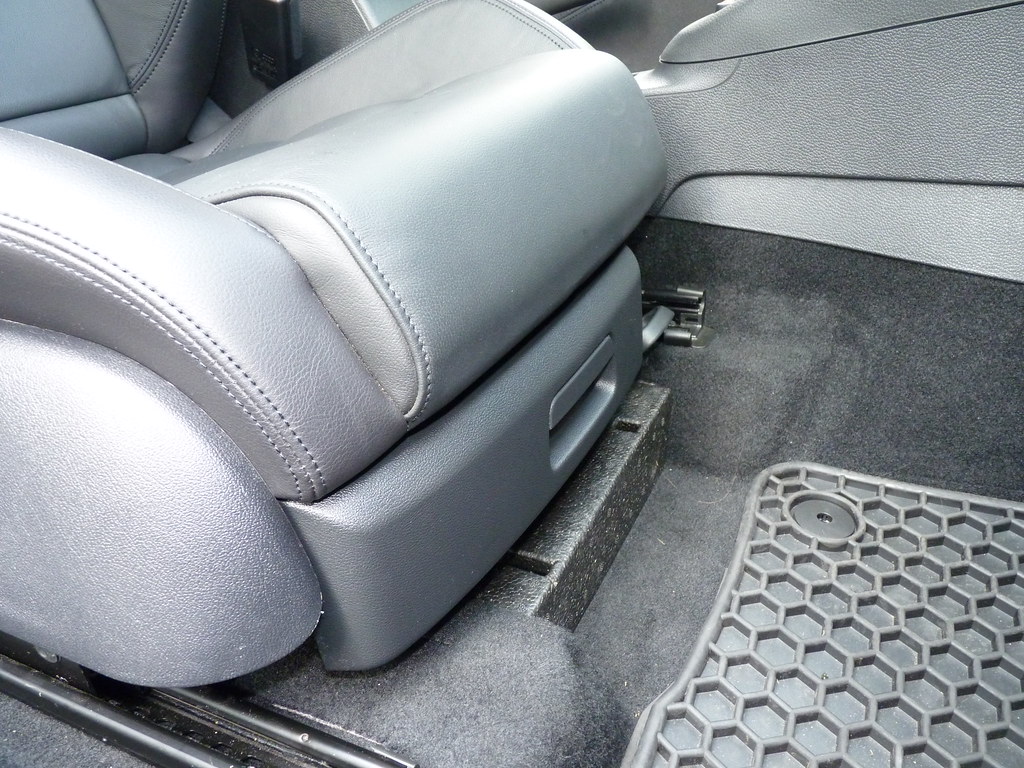
Step Three:
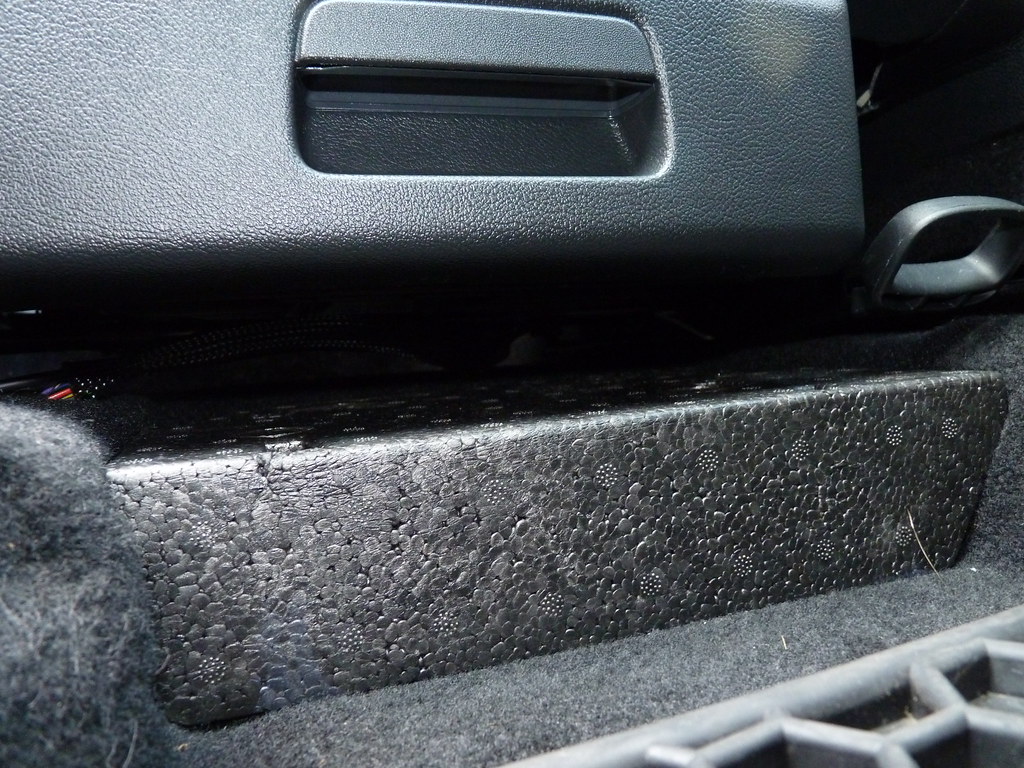
Locate the rivet points underneath the seat.
Passenger's Side
Driver's Side
Line up the retainer metal piece and tape it in place if you have no one to hold it for you.
Use a rivet gun to attach the metal retainer piece.
Watch a Youtube video of how to use a rivet gun if you don't know how.
It's really easy.
Warning: The retainer pieces are side specific. Look at the pics carefully so you don't switch them. Once riveted, it will be a pain to fix.
Passenger's Side
Driver's Side
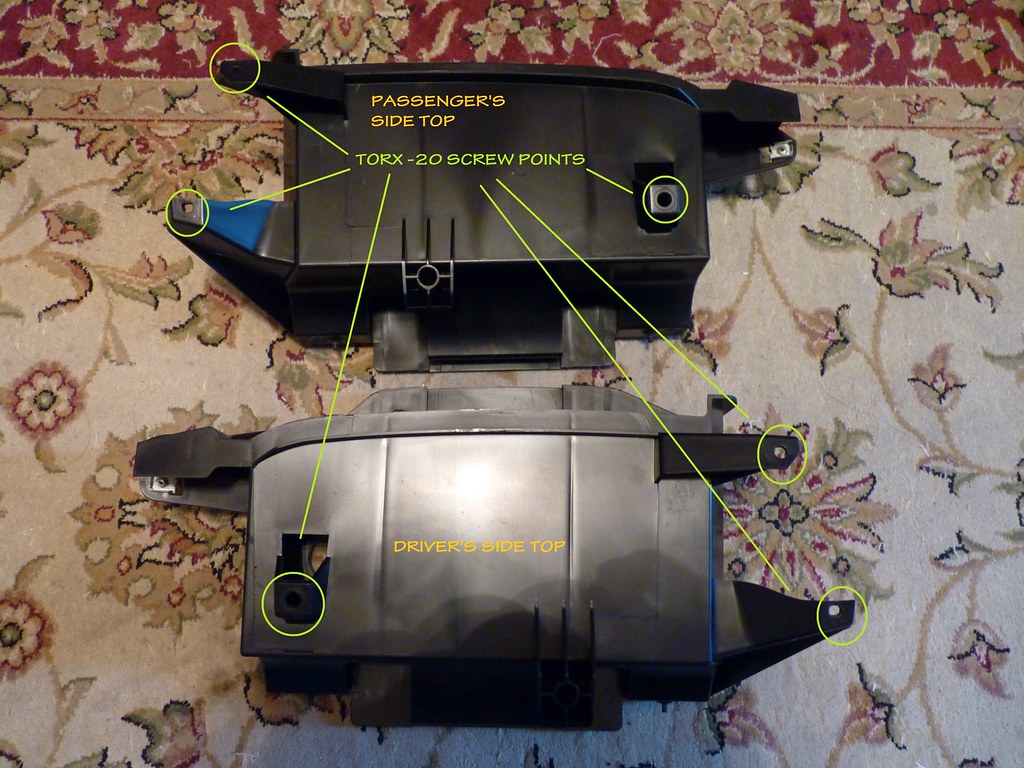
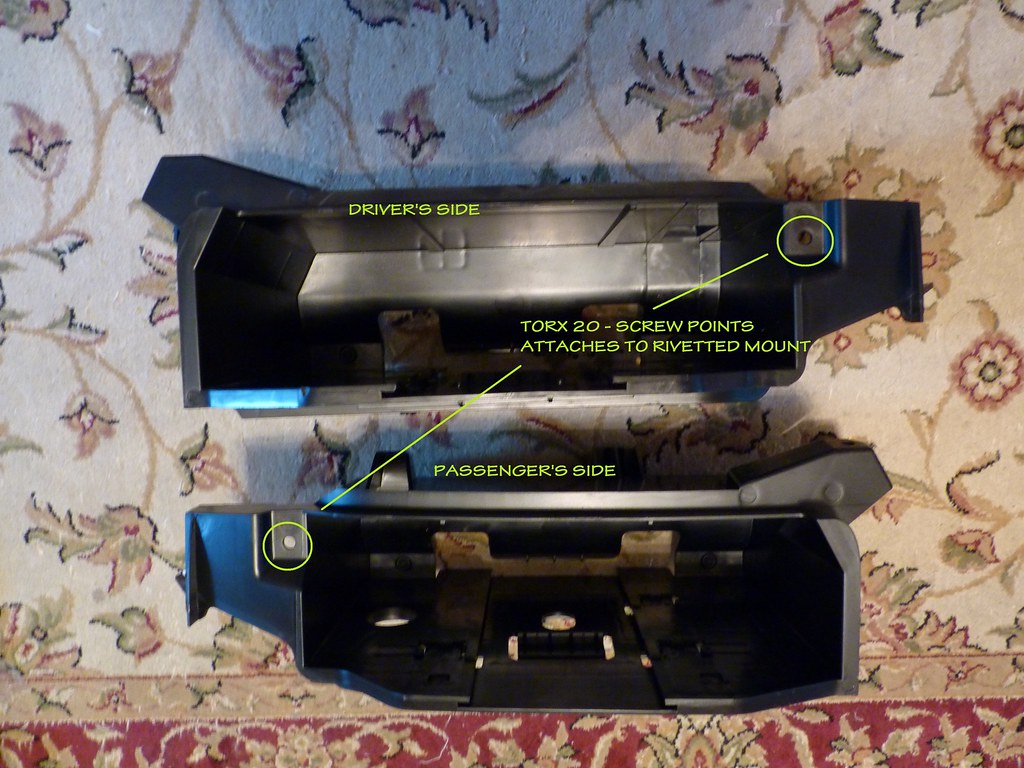
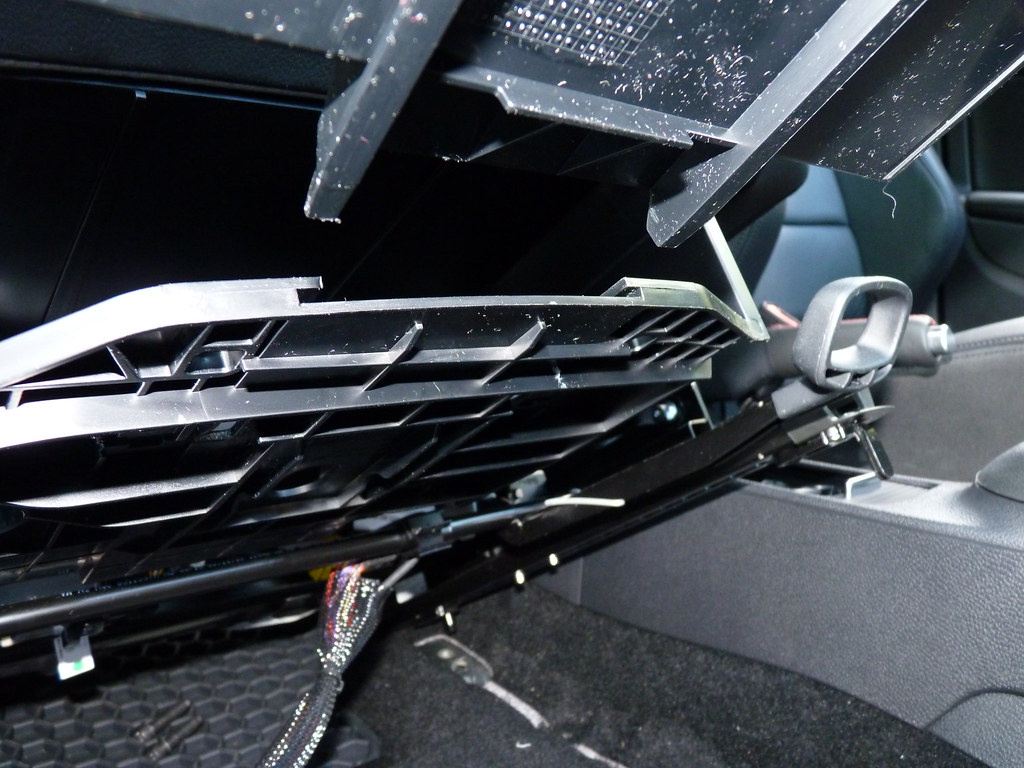
Step Four:
Place the guidance frames underneath the seat and line them up with the screw points.
It is easiest to screw them from outside in starting with the riveted brace.
The center screw will require you to go through the hole in the bottom of the tray. You will need to use the extension bar. This is also why you should not install the drawer into the tray until you are done.
Passenger's Side
Driver's Side
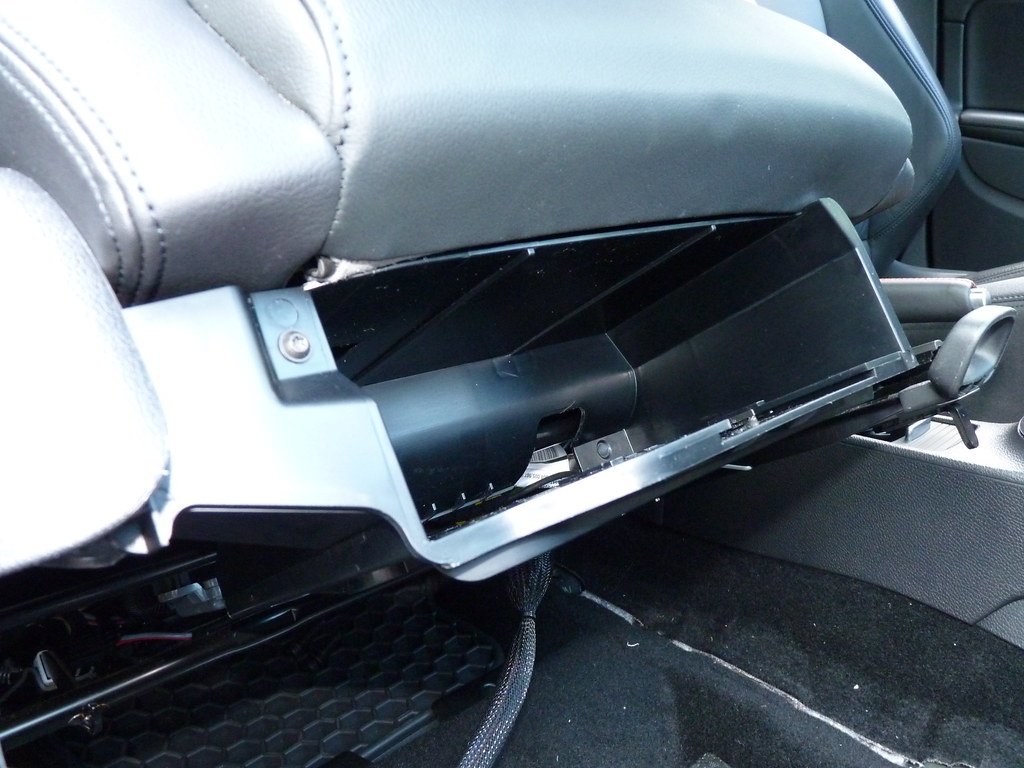
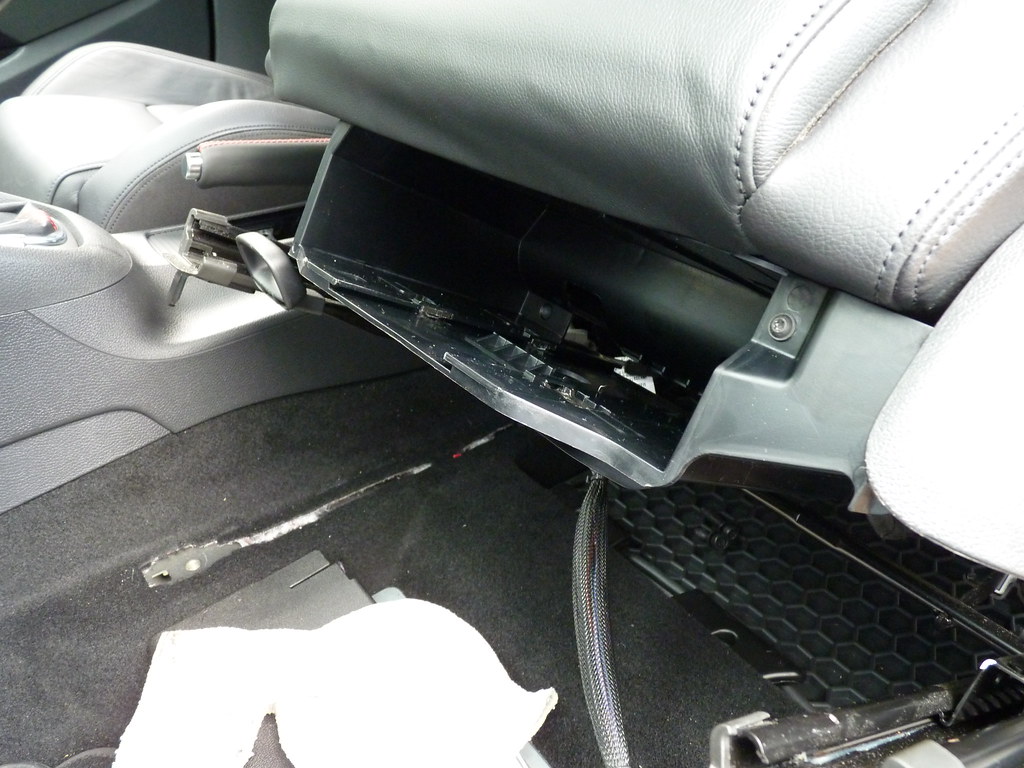
Step Five:
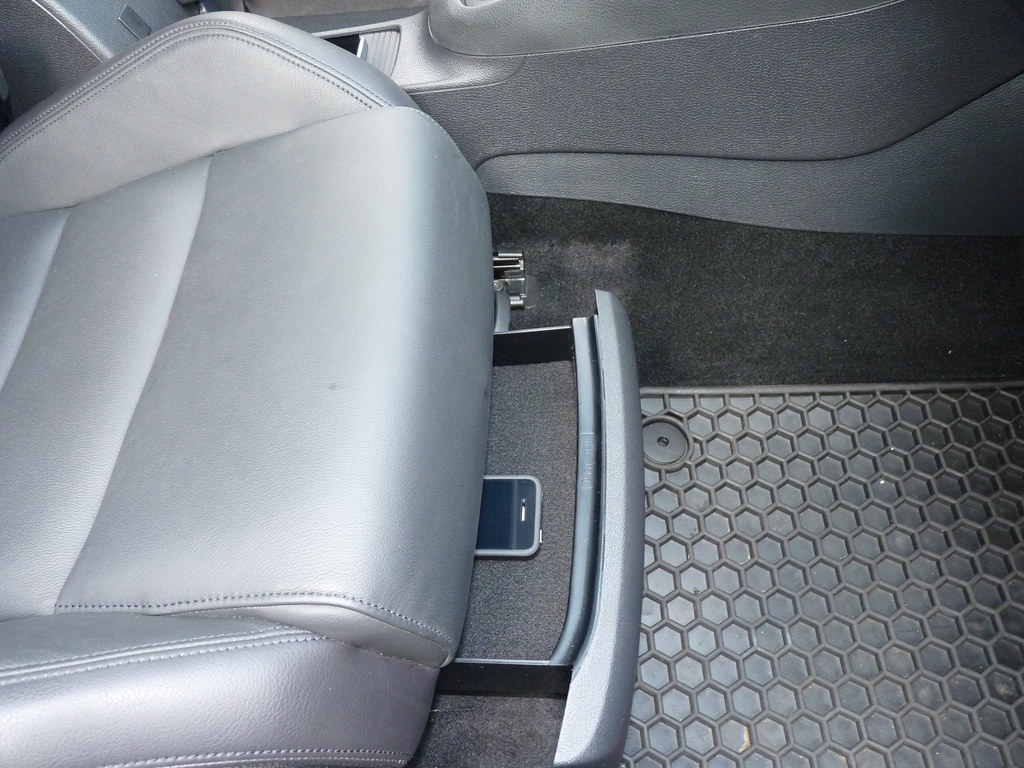
Take your drawer piece and line it with the guides in the frame.
Once the drawer meets some resistance, you can use a gentle tap to lock it into place.
You're done!
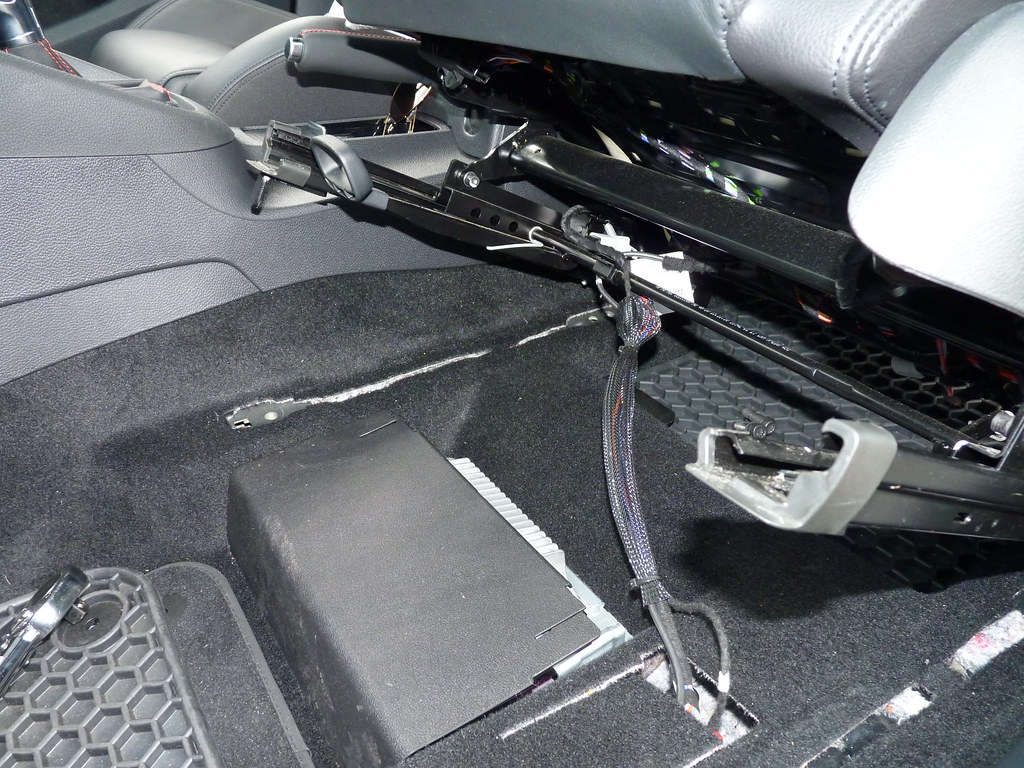
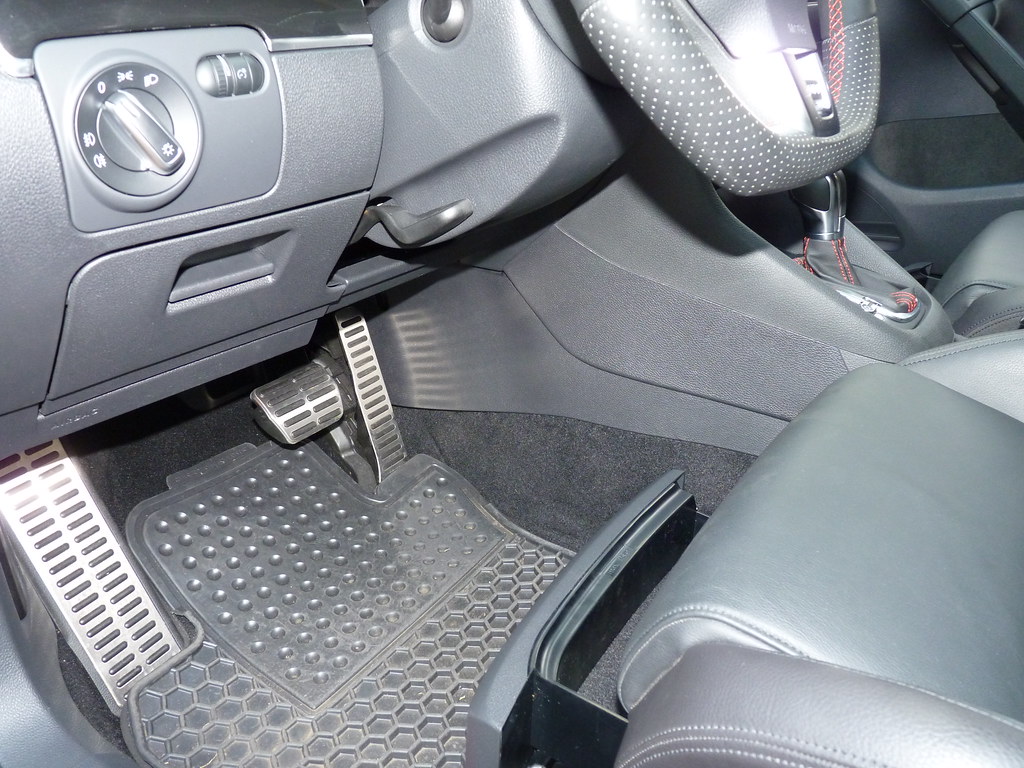
Additional Photos:
Thoughts:
-Installation is very simple and quick.
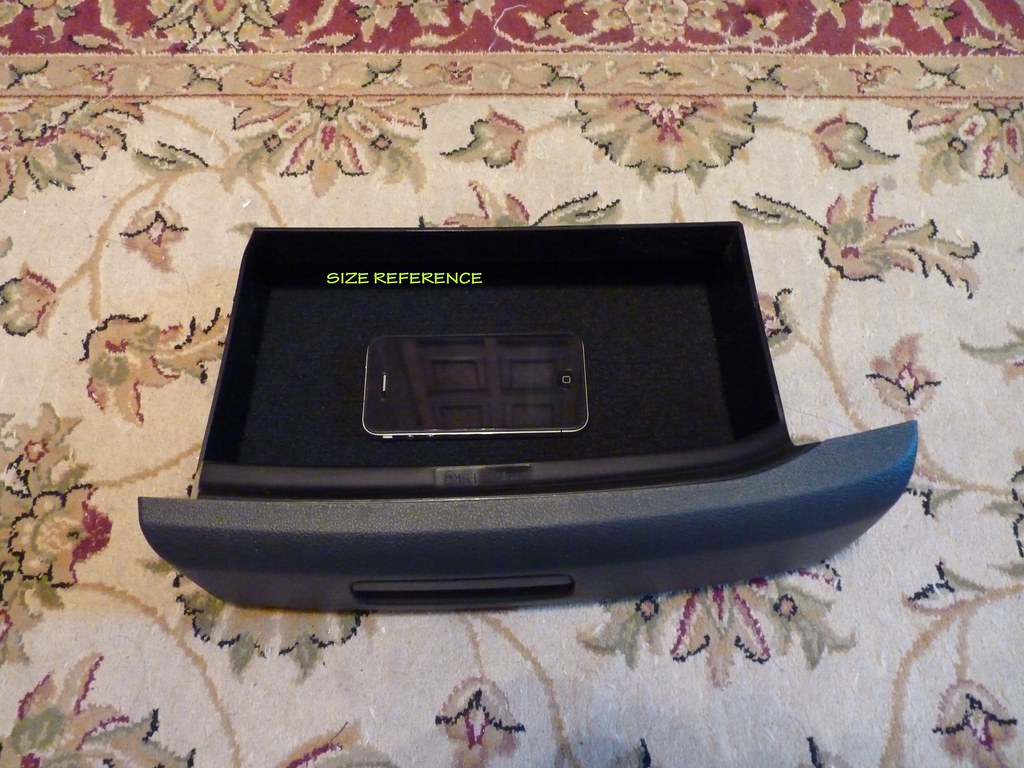
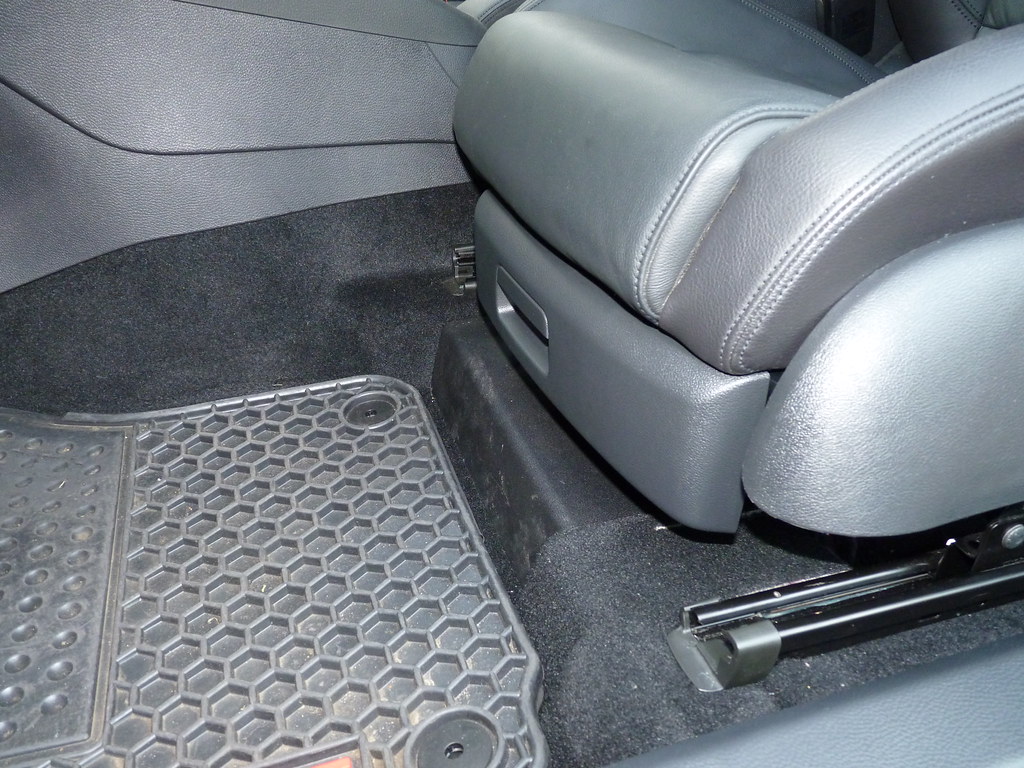
-Drawers add some much needed storage space.
-Drawers are lined with felt and match up perfectly with rest of interior.
-Leather was upholstered lower on my driver's side which prevents the drawer from closing properly. This is probably vehicle specific so YMMV.
-Drawers don't slide out very far. The pictures above are as far as they open.


 Citar
Citar